--Originally published at Baker's B.Y.O.D.-- Bring Your Own Device, Dog, & Deconstruction of Literature
I integrate technology into my personal and professional practices so that I can save time and function efficiently. For many teachers, lesson planning can be time consuming and cumbersome as they write, execute, and send the plans to administration. Utilizing Google Calendar and a class Google Site as part of G Suite for Education, lesson planning can be quick and efficient. And, as everything is curated online, I do not need to print out reams of paper when submitting my plans to administration or keeping parents and students informed of events in class.
Quick Steps:
1. Create a calendar for each prep taught.
2. Create an all-day event for the lesson plan of the day.
3. In the description area of the event, type in the plan and links for the day.
4. Set the calendar to public and share with appropriate administrators.
5. Create a Google Site with pages for each prep taught and embed the calendars.
6. Share links to the Google Site as needed.
Calendar Organization & Settings
The longevity of Google Calendar makes it an ideal platform for paperless lesson planning. I have been writing my lesson plans in Google Calendar since September of 2013 and can easily access a specific day, month, or year with a few clicks. I do not organize and name my calendars by period as my schedule from year to year may differ. Nor do I need multiple calendars for the same level or prep, as I will have the same plan for each. Instead, I name and color code my calendars by the title or level of the class and use the same calendar every year I am teaching that prep. I can compare previous years' plans to the current school year, as well as copy/paste/edit descriptions of plans I reuse.
Here is a quick screenshot of my English 9 February 2018 and 2019 calendars. I can see that last year, I did not begin my Odyssey unit the end of the month, whereas this year, I am ahead of last year's pacing.


Writing the Plans
The day on which an event takes place is much more important the time it takes place. For each day I write plan, I create an all-day event. The time of event is irrelevant. I do not need my plans to be posted to a specific time because I am following the same teaching schedule every day, and it would be a waste of my time and energy to post the same plan for multiple times on a given a day since I am teaching the same plan for each class/prep period.

In the title area of the event, I will state what topic we are covering that day and be sure to select the appropriate calendar for that prep/class. In the description area, I will type out an outline of the plan and include any links to resources. I keep the structure of the plan consistent with four main areas: Objectives, Tasks, Assessments, and Standards.

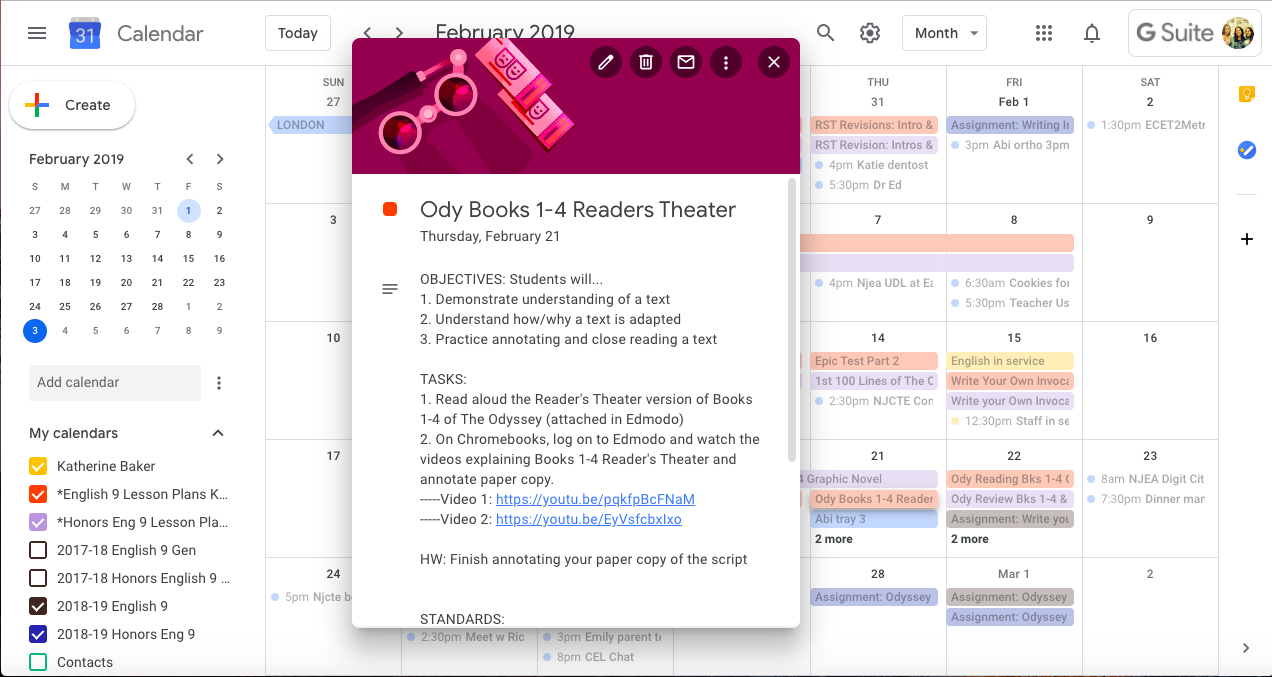
I can easily copy/paste the description and post it as a note in my Edmodo groups or Google Classroom (or other learning management site) for students to access at home. By posting it to my LMS groups, students can access any attachments and ask follow-up questions if needed. While I can add attachments to the event, I prefer to post the attachments in Edmodo for students to access as the Calendar is more of a static landing page to see classroom events and not an arena for discussion.

Publicizing the Calendar
In the settings of each lesson plan calendar, set the calendar to PUBLIC. This will make it visible when you embed it in a Google Site that will be visible by students, parents, and administration.
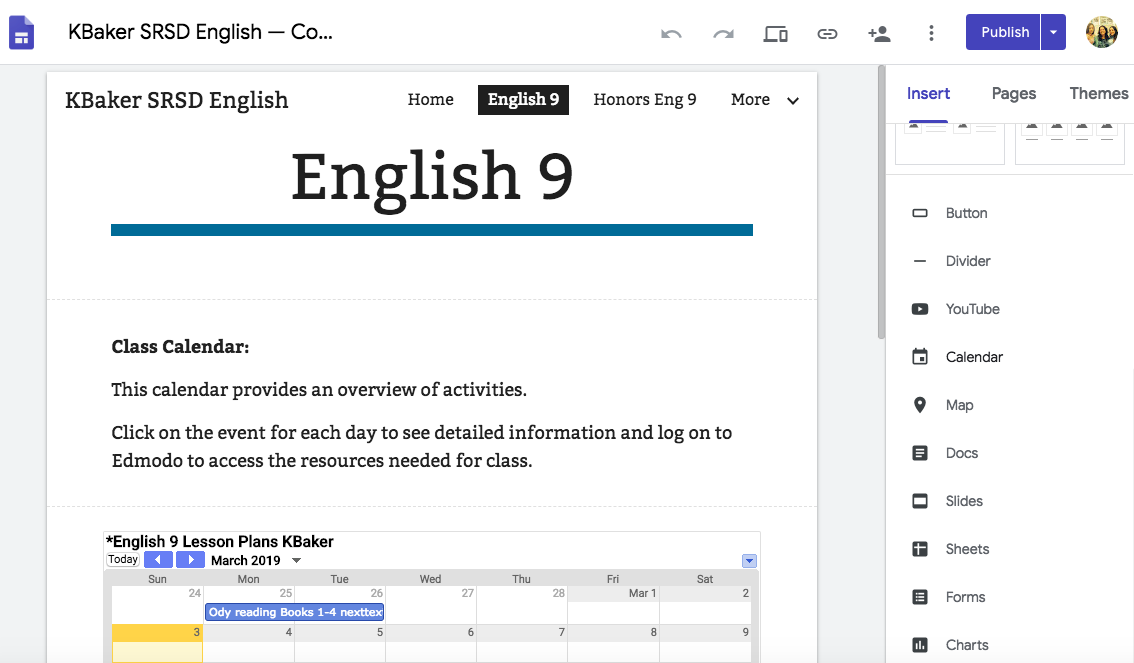
The new and updated version of Google Sites is ridiculously easy to create a class web page with an embedded calendar: create the site with a page for each class/prep taught, and from the Insert menu in the Site editor, simply click CALENDAR to embed a calendar on that page. Be sure to hit PUBLISH so that your site goes live!
I provide the link to the class Google Site to parents at Back to School Night as well as demonstrate how they can see the day to day plans by clicking on the event for that day. I also email the link to the Google Site to my administration when I am submitting lesson plans rather than printing out pages of plans.
Recap
Lesson planning with Google Calendar and Sites is an efficient and quick way to track and publicize your day to day teaching from year to year for students, parents, and administration.


I have also done this from time to time, but I think now I’ll switch over completely. Now I take notes in Evernote, but you’ve highlighted a couple things that have convinced me to change. Thanks for your time to share. -Kevin
Hi Kevin!
Thanks for leaving a comment! What specifically influenced you to change? I’d love to learn more about your methods!
Hello I would like to know more on how to do this, and what you do if your plans change. Ex. you get behind. Do you do this for your lesson plans or for students to see things that are due ect. I am trying to flip my classroom and have a very generic (in google Docs that I update when I assign things) calendar in google classroom. I would love to have something a little more convenient to share with both students and parents.
Thanks
Hi Sonya,
Thanks for your questions!
With Google Calendar it is easy to edit the calendar entry and move it to another date. I simply drag and drop it as needed. I keep the calendar embedded on my classroom site and direct parents to bookmark the page, so that parents and students can easily find it.
For student assignments, I use Edmodo and Google Classroom. Students know the workflow for turning in their work.
I had the same question. When you drag and drop to move the lesson, do you have to do this for all your upcoming lessons individually? Or is there a way to shift them all forward?
[…] Learn how to create a lesson plan using Google Calendar here. […]
[…] Aprenda a crear un plan de clases con Google Calendar aquí. […]